Introduction
If you are using cPanel based web hosting provider like FastWebHost, follow the steps in this article to verify your domain name and set up DNS records for Mircosoft Office 365 mail, calendar, Skype for Business Online, and so on.
We are going to discuss the following topics to integrate your domain with Office 365 services.
- Point your domain to your hosting account
- Add a TXT record for verification
- Add an MX record to route email
- Add six CNAME records
- Add a TXT record for SPF to help prevent email spam
- Add two SRV records
After you make all of these changes at Fastwebhost, your domain will be ready to work with Office 365 services.
Let's dive in!
Point your domain to your hosting account
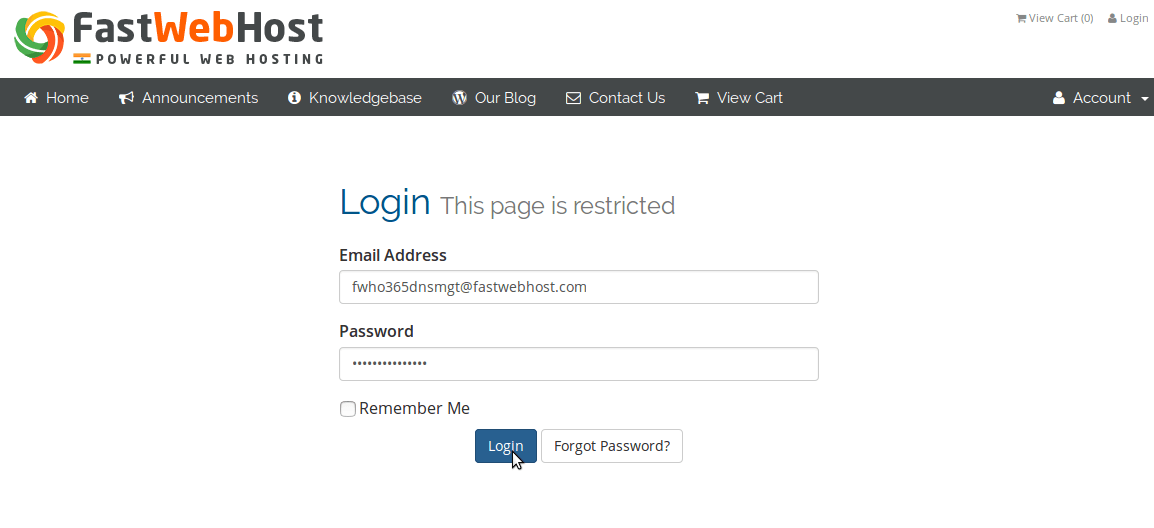
- First thing is to go to your domain management page by loging in to your Fastwebhost billing page by using this link. You’ll be prompted to log in.
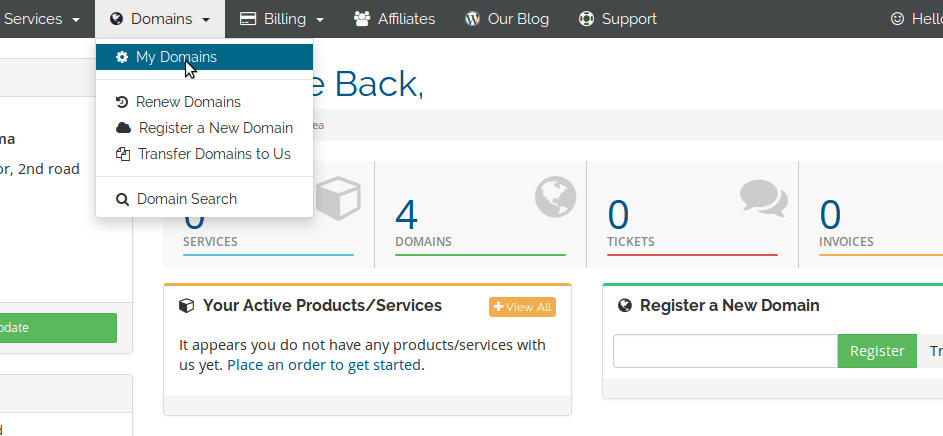
2. Choose Domains –> My Domains option
3.Choose Manage Nameservers
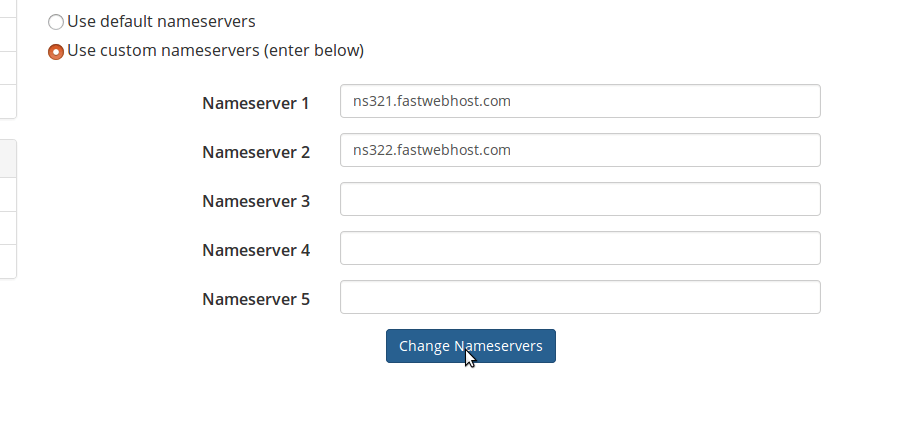
4. To point this domain to an existing host account, choose custom Name servers and enter the Name servers provided in your Fastwebhost welcome Email.
5. Choose Change Name Servers.
Adding a TXT record for verification
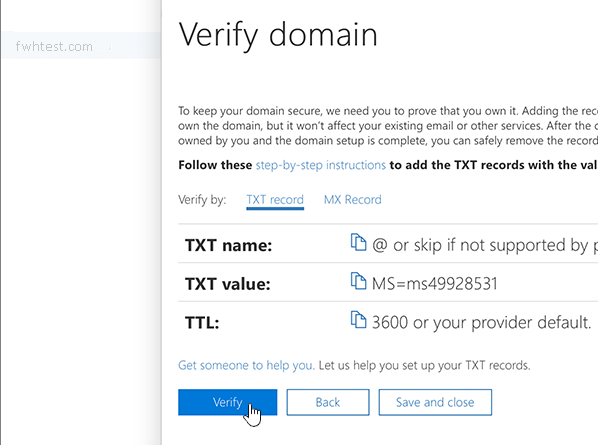
Your ability to log in to your account and create the DNS record proves to Office 365 that you own the domain.
1. You can login to your cPanel at FastWebHost
(Each Cpanel account in Fastwebhost is unique. It should look like this: https://YourSiteAddress:secure-port-number. You can check Welcome email which was sent by us)
2. In Domain area of your control panel, choose Advanced DNS Zone Editor.
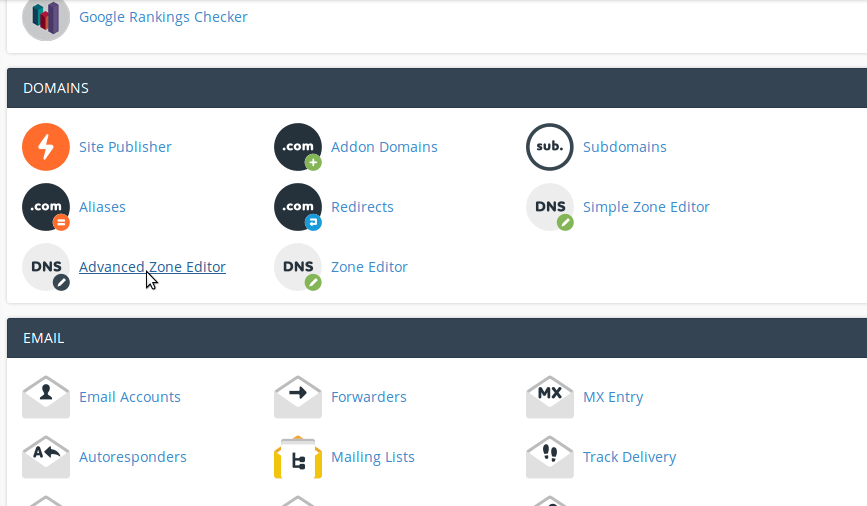
3. On Advanced DNS Zone Editor page, in the Add a Record area, type or copy and paste the values from the following table.
4. Choose Add Record
5. Wait for few minutes before you continue, so that the record you just created requires few minutes for propagation across the Internet.
After adding the record at your domain registrar’s site, you’ll go back to Office 365 and request Office 365 to look for the record.
When Office 365 finds the correct TXT record, your domain is verified.
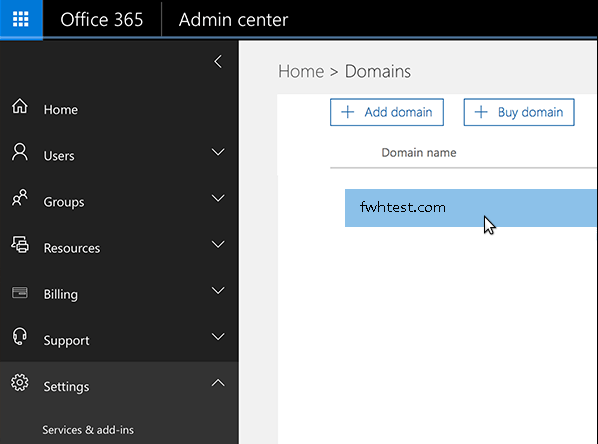
- Go to the Domains page.
- You need choose the Domain that you want to verify.
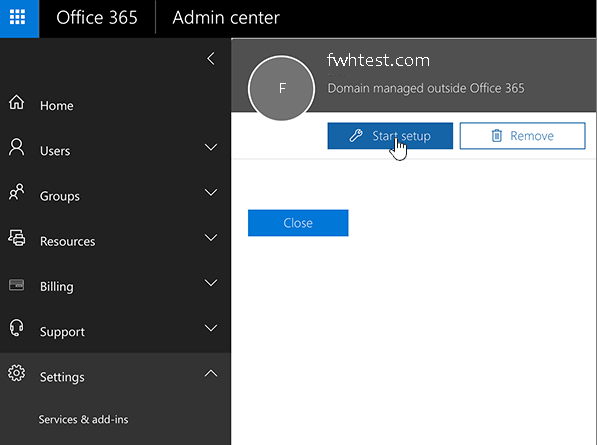
3. At Setup page, select "Start Setup"
4. In the Verify domain page, choose Verify.
Add an MX record so email for your domain will come to Office 365
- Login to your Fastwebhost cPanel with the username and password.
2. In Mail area of your Control Panel, Choose MX Entry.
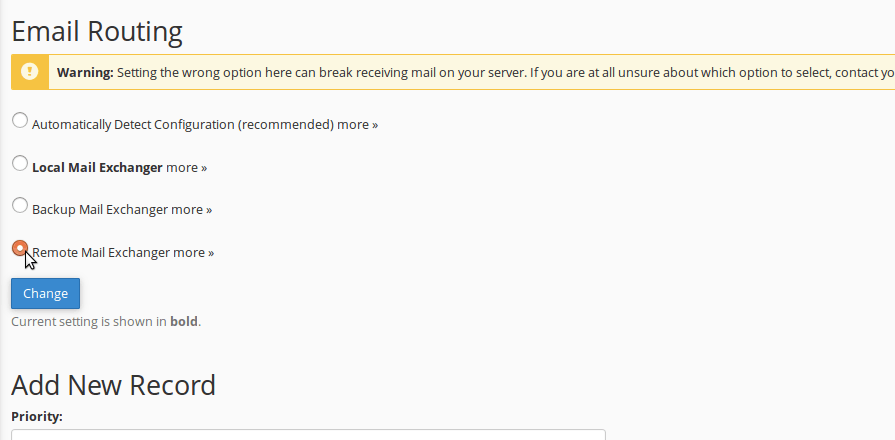
3. Here at Email Routing area, select Remote Mail Exchanger.
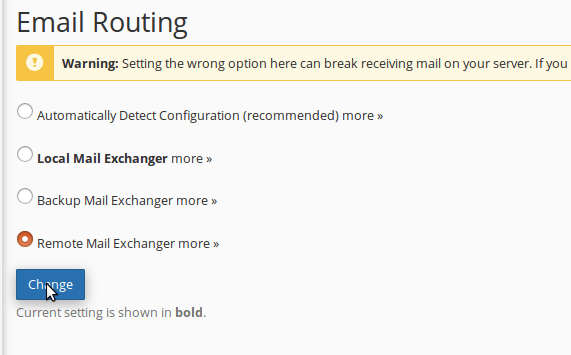
4. Click on Change button.
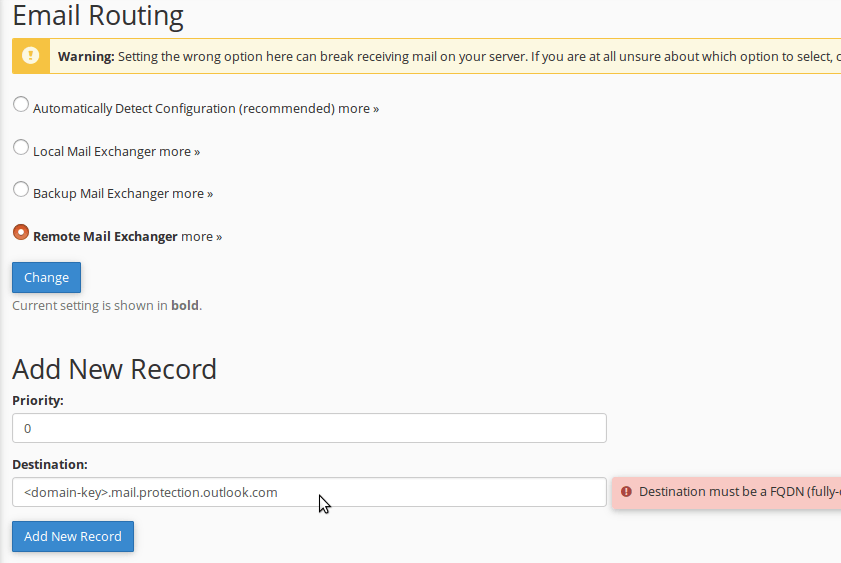
5. In the Add a New Record area, in the boxes for the new record, type and paste the values from the following table.
6. Select Add New Record
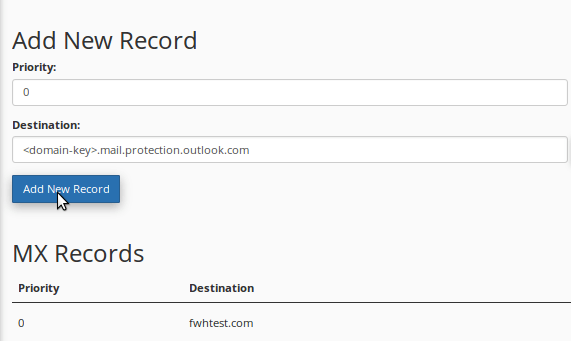
7. Remove each of the MX records in the MX Records section.
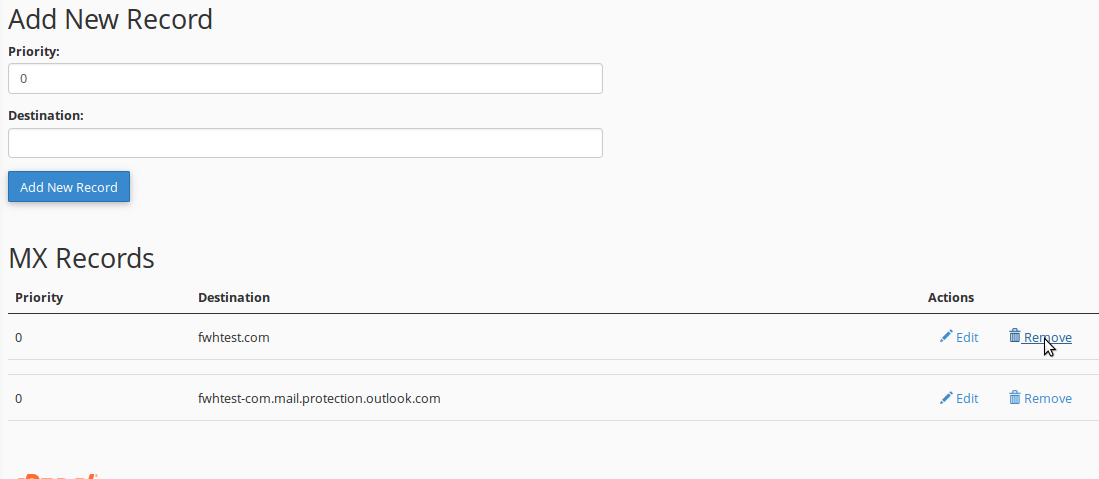
8. Select Delete to confirm the removal of that record.
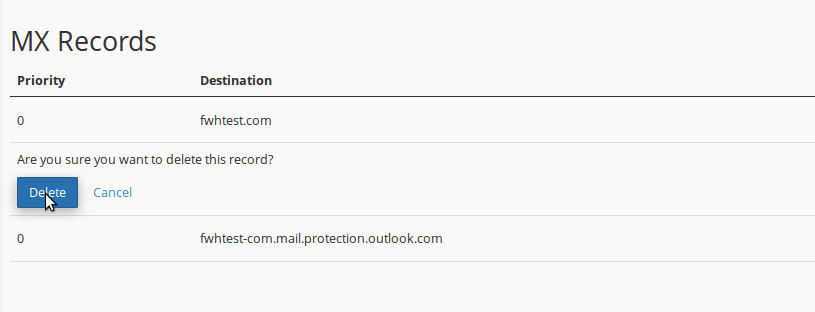
9. Using the same process remove each of the other records, keeping only the one that you created earlier in this procedure.
Add the six CNAME records which were suggested by Office 365
- Login to your Cpanel at Fastwebhost
2. In the Domain area of your Control panel, choose Advanced DNS Zone Editor.

3. Add the first of the sixCNAME records.
In the Add a Record area, in the boxes for the new record, type or copy and paste the values from the first row in the following table.
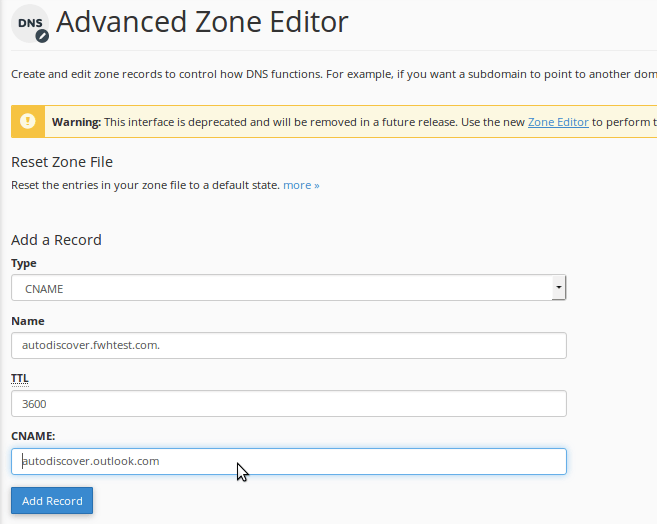
4. Click on Add Record.
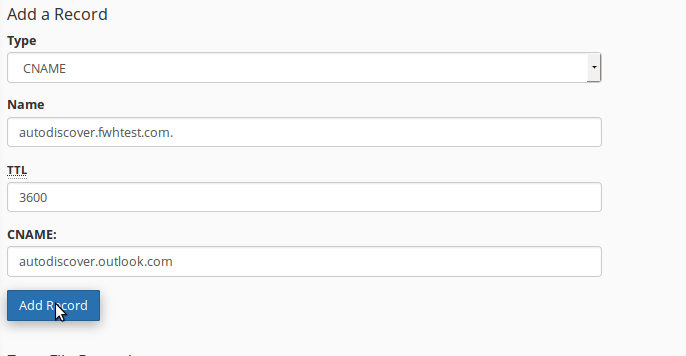
5. Add each of the other fiveCNAME records.
In the Add a Record section, create the record by using the values from the next remaining row in the table, and then again choose Add Record to complete that record.
Repeat this process until you have created all six CNAME records.
Add a TXT record for SPF to help prevent email spam
- Login to your Cpanel at Fastwebhost

2. Under Domain area of your Control Panel, choose Advanced DNS Zone Editor.

3. In the Add a Record area, in the boxes for the new record, type or copy and paste the values from the following table.
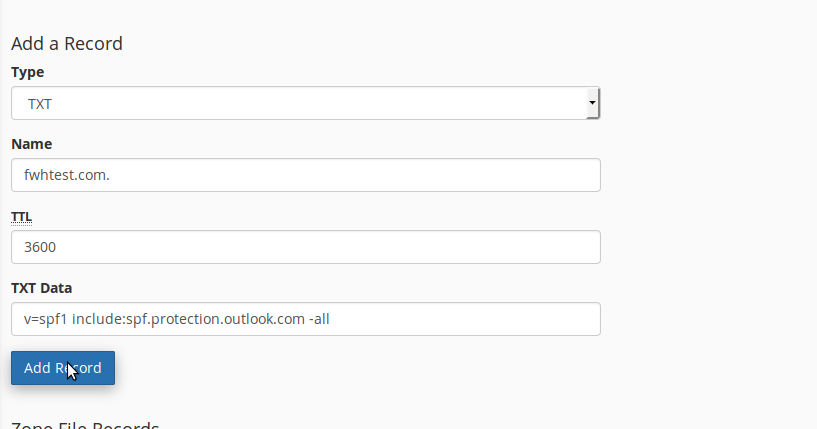
4. Choose Add Record.
Add the two SRV records that are required for Office 365
- Login to your Cpanel at Fastwebhost

2. Under Domains area of your Control Panel, choose Advanced DNS Zone Editor.

3. Add the firsttwo SRV records.
In the Add a Record area, in the boxes for the new record, type or copy and paste the values from the first row in the following table.
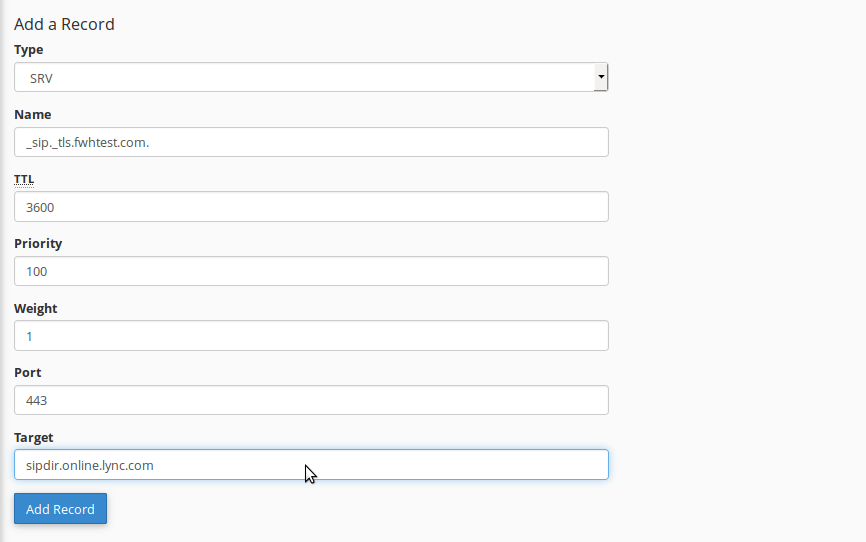
4. Click on Add Record.
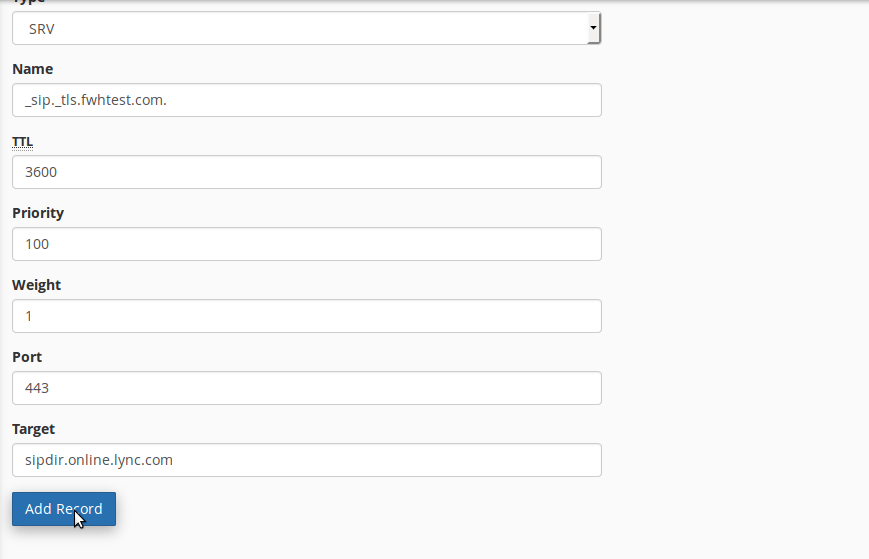
5. Add the other SRV record.
Create the remaining record in the Add a Record section by using the values from the next row in the table, and then again choose Add Record to complete that record.
Conclusion
Hope this helps you create DNS records to connect to Office 365 with no further help from anyone. If you like this leave an comment in the below box.

