This tutorial assumes you’ve already logged in to WordPress, and will show you how to configure your settings.
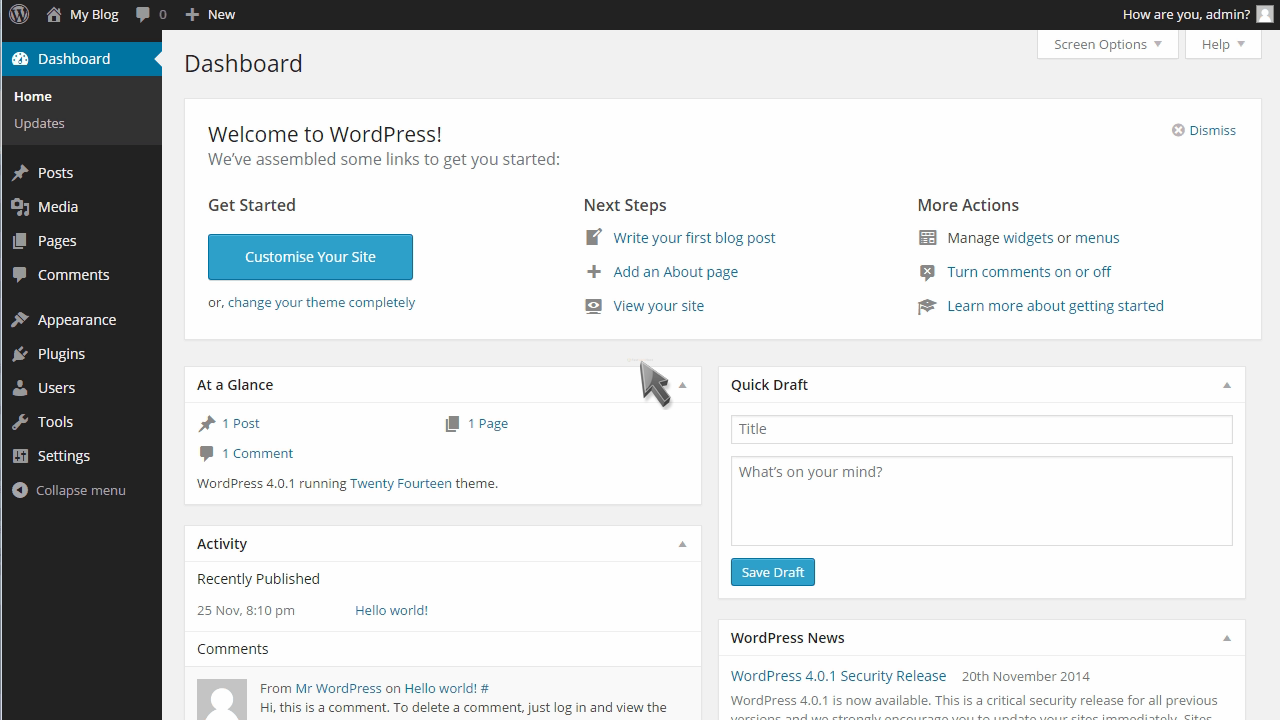
Click Settings in the left margin.
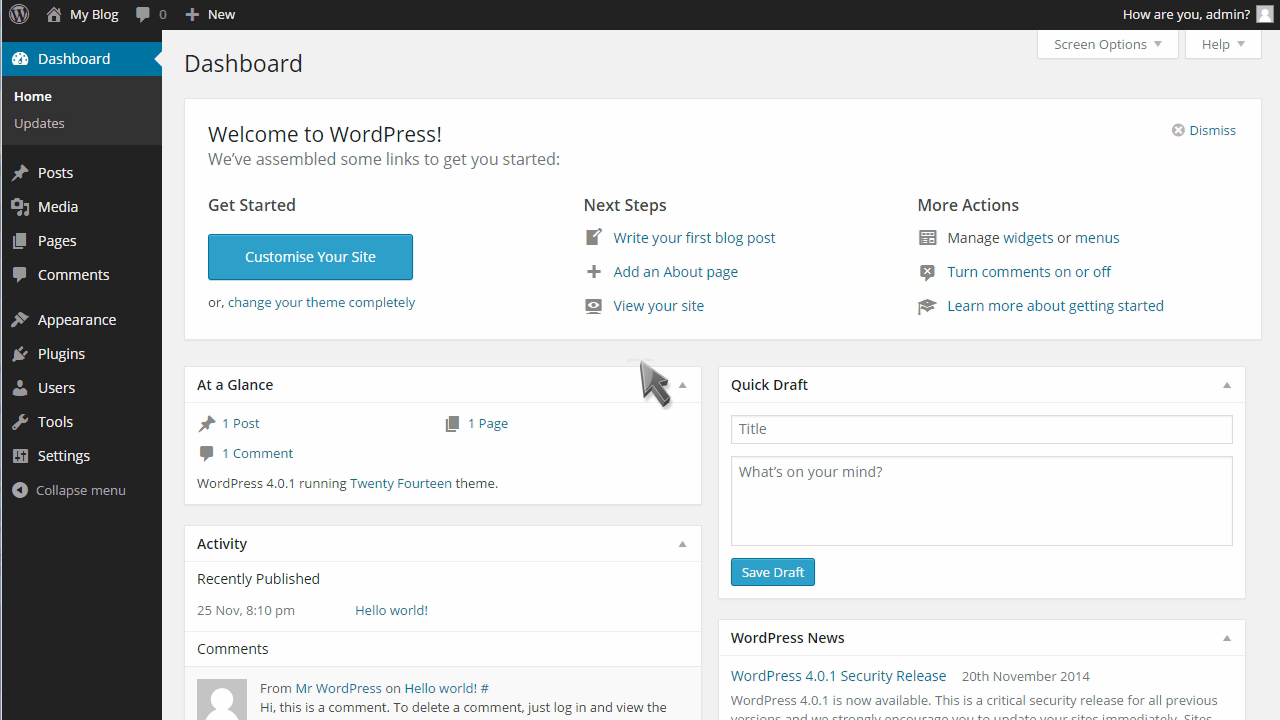
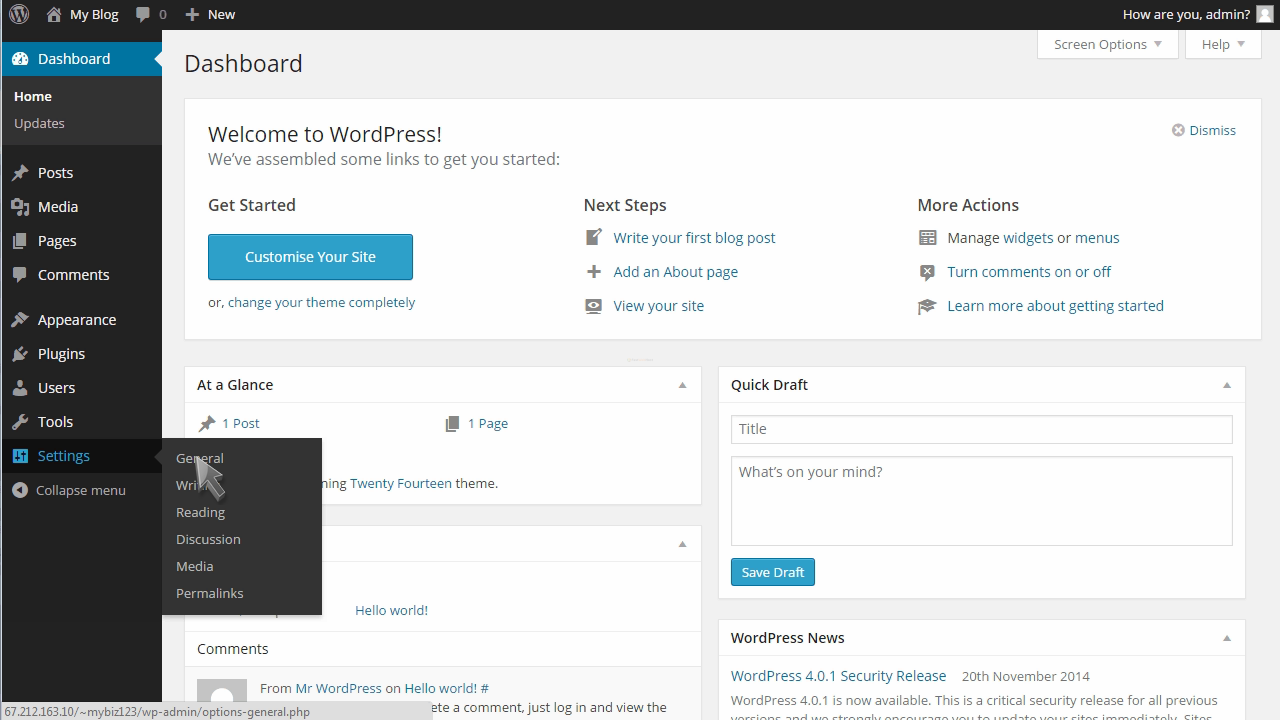
Then click General.
This page has general settings that you can change, like the blog title, tagline and website URL.
We’ll go ahead and make some changes.
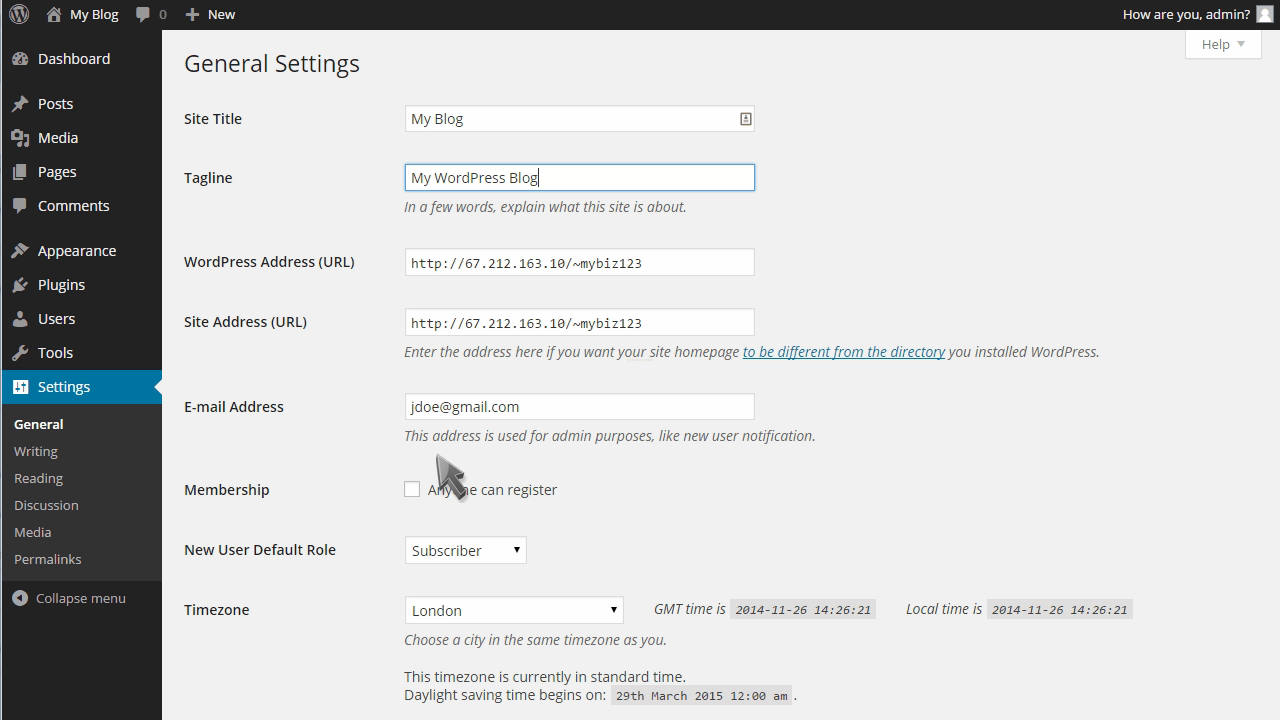
You can also make changes to the timezone, date and time formats.
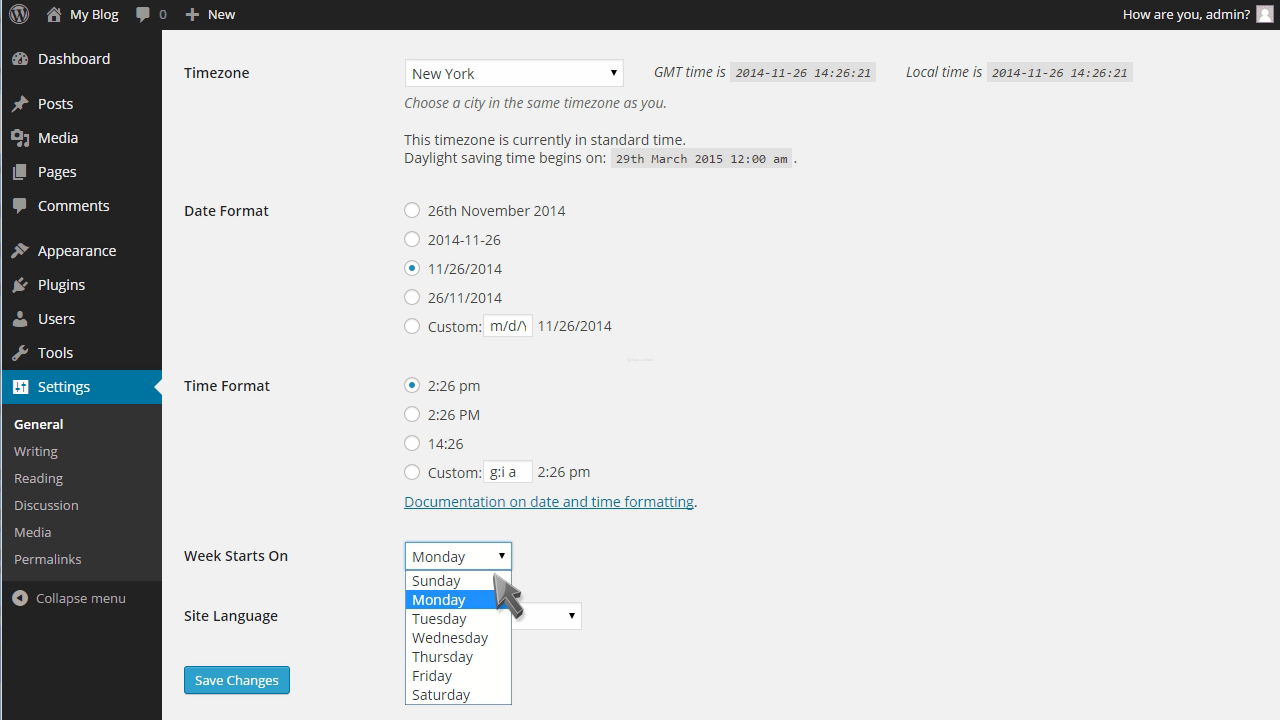
When finished, click Save Changes.
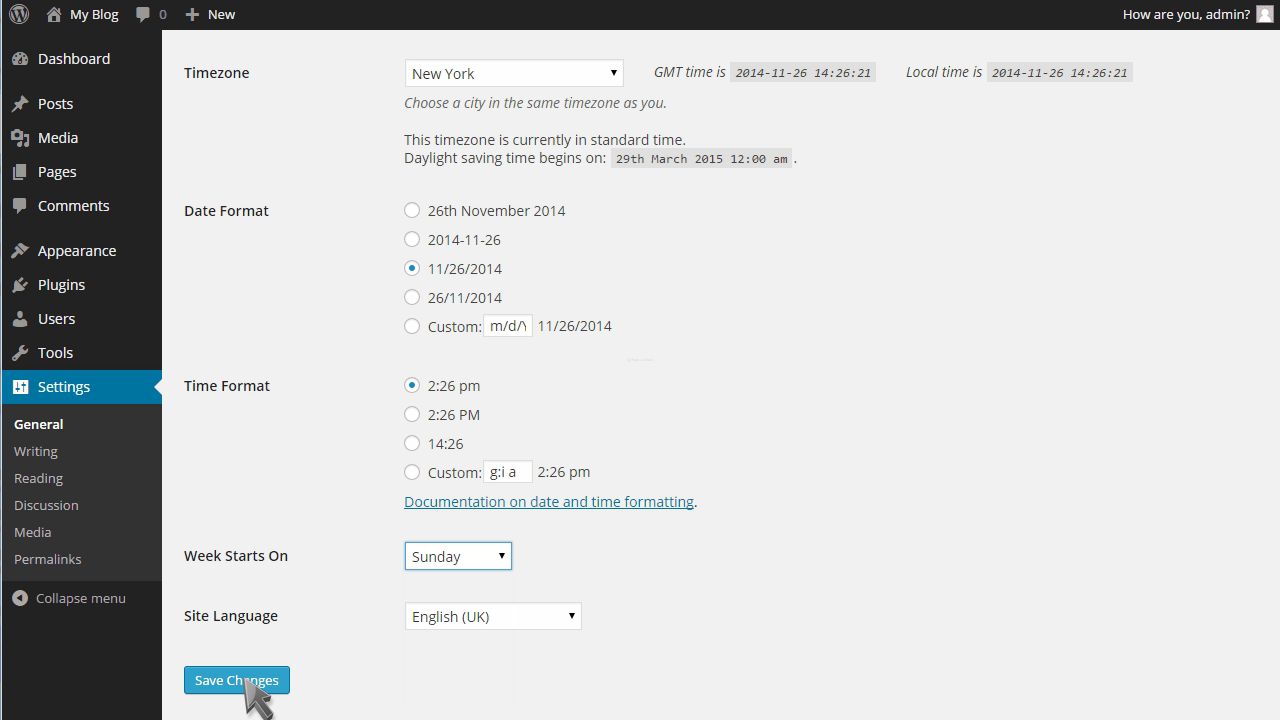
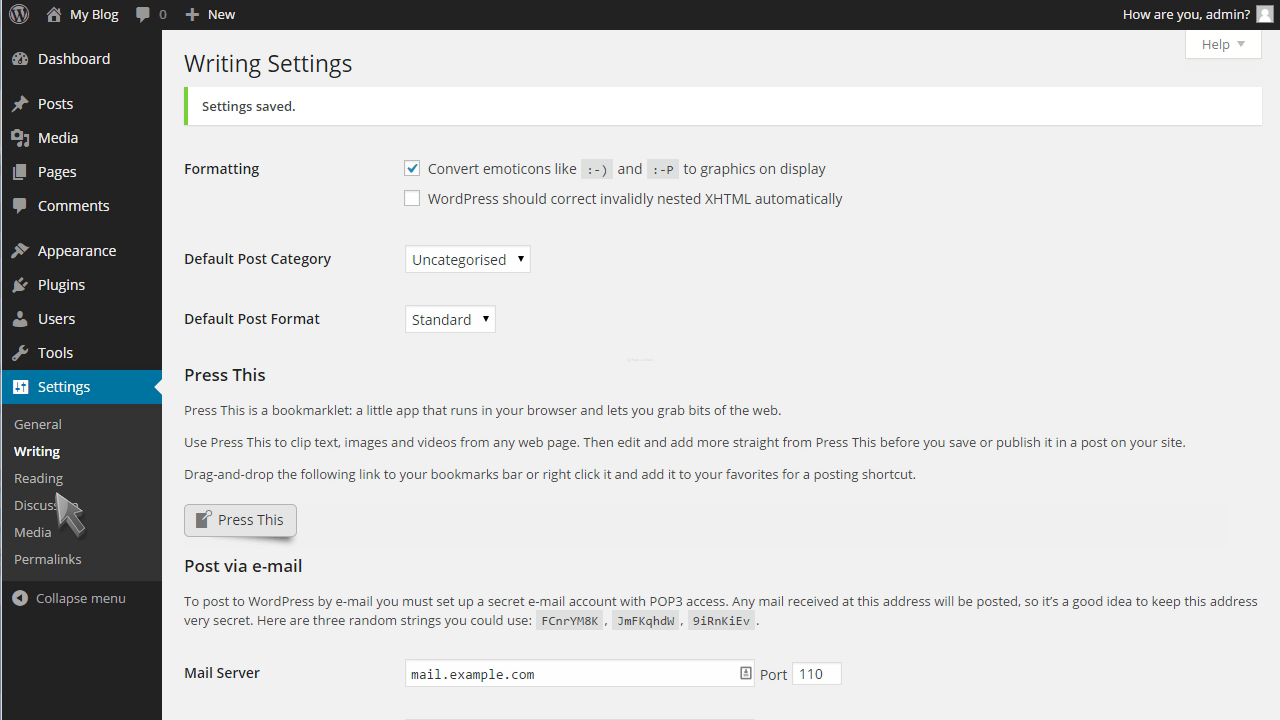
Now click the Writing tab under Settings.
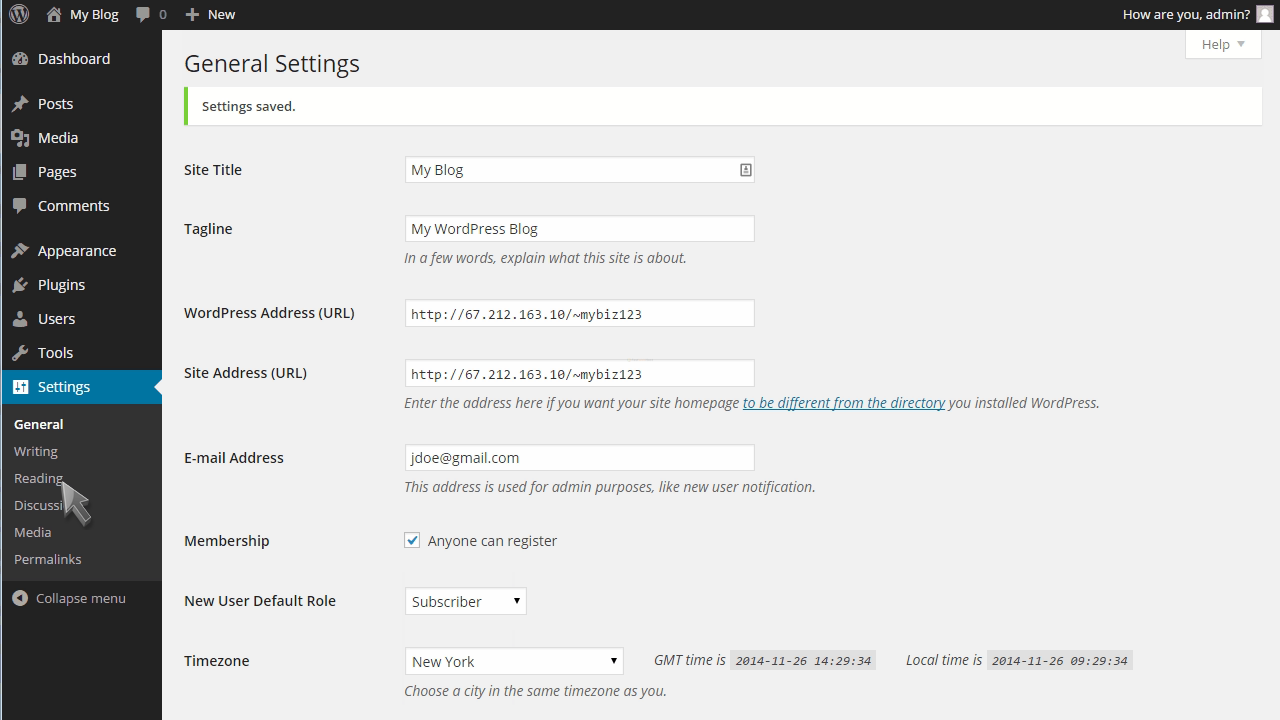
This is where you can edit the settings related to writing posts.
Don’t forget to always click Save Changes if you’ve made changes, before leaving a page.
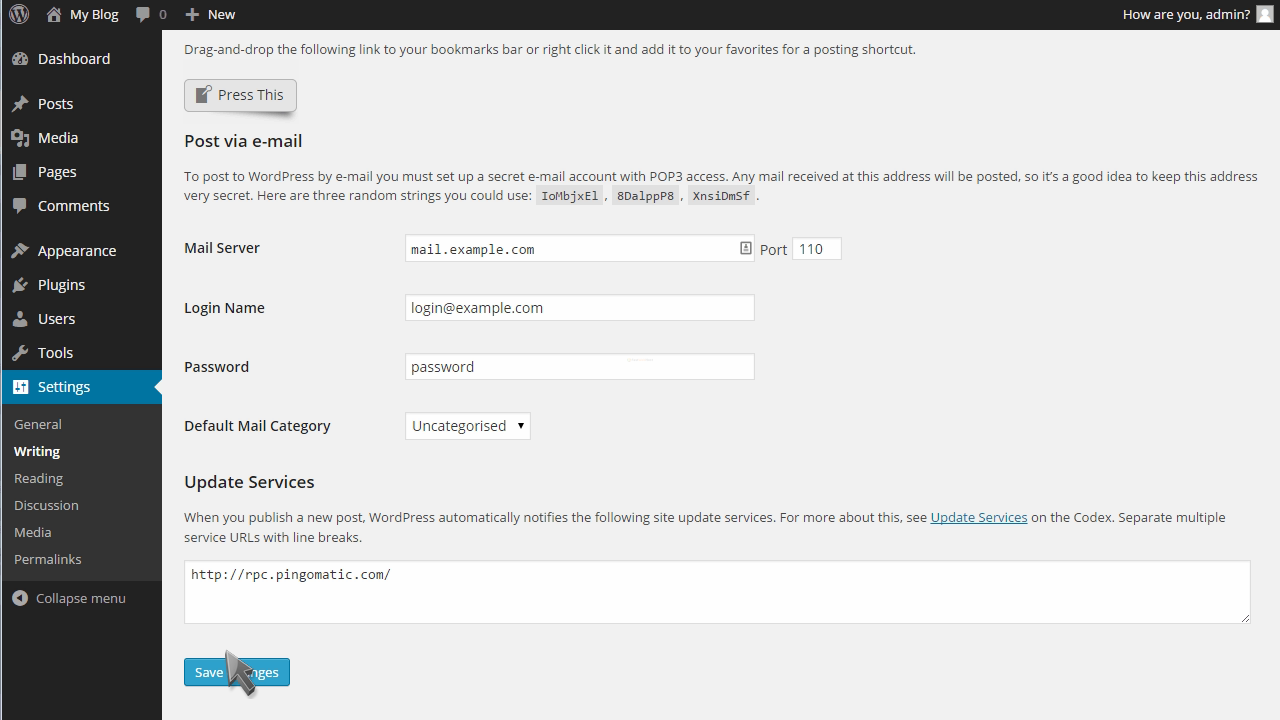
Next, click Reading under Settings.
Here you can set how many blog pages to show.

Next click Discussion.

On this page you can change settings that relate to comments and avatars.

Click to Save Changes.

Now click the Media option.

This is where you can set image sizes for images included in posts.

Finally on the Permalinks page, you can set what type of URL structure is used through your website.

This is the end of the tutorial. You now know how to configure your settings in WordPress.

Watch video tutorial here.

 Phone: +91-98-85440683
 Login
Login